 To gain a deeper understanding of the GNU Radio software, I want to rebuild
some skills & insights in digital signal processing. But before I take on this topic,
I want to refresh my signals & systems skills I learned long ago while in college.
I have chosen Mark Wickert’s book, Signals and Systems For Dummies, to do this.
 Go ahead and laugh if you wish, but I got good reasons for choosing this book.
I like its brevity, since I don’t want to spend a great deal of time re-honing
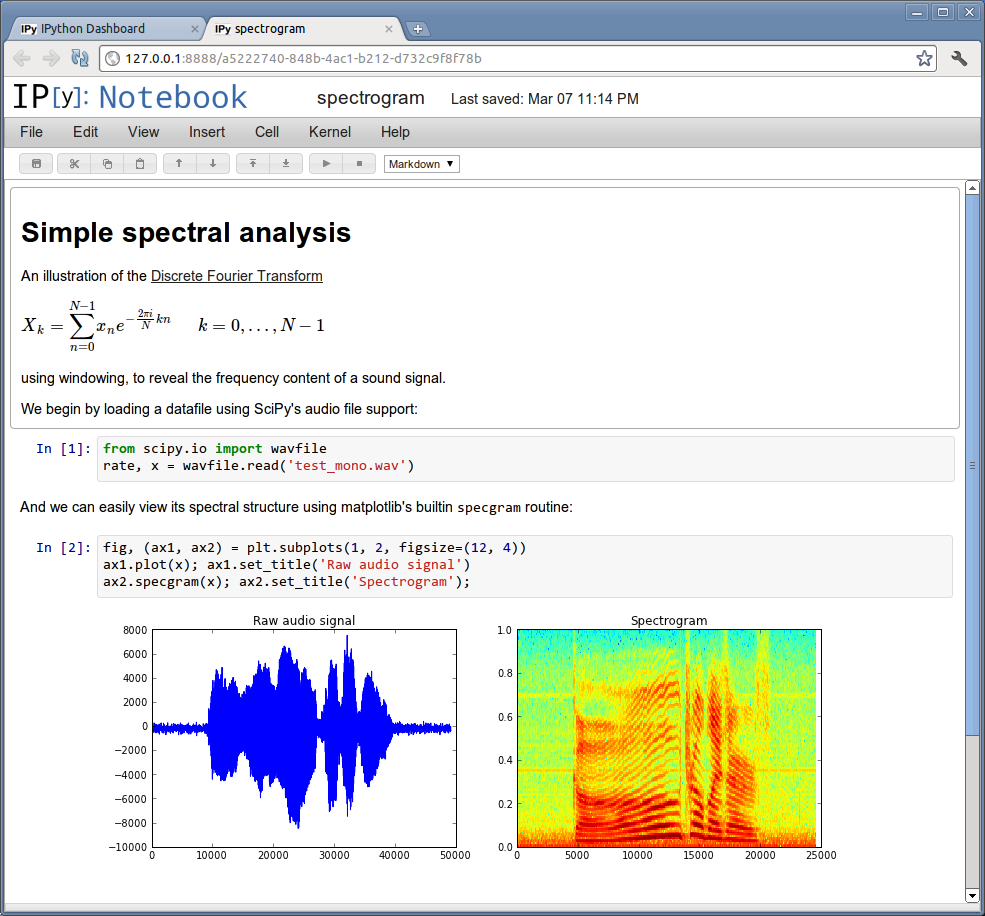
these old skills (I expect them to come back quickly), and its use of IPython
will help me master a powerful tool that I foresee using within this blog;
specifically the IPython Notebook. To begin learning IPython, I’m currently
reading Learning IPython for Interactive Computing and Data Visualization by Cyrille Rossant.
So it’s currently “back to school” for me on many levels.
 So this brings me to the topic of this posting. Initially I considered moving
my blog off of WordPress.com to a WordPress.org hosting site. This should allow
me to post IPython Notebook pages. WordPress.com is very restrictive on what you can do with your blog,
but the WordPress software, when self hosted via WordPress.org, can provide you a great deal of blogging freedom.
I need to take advantage of some of the powerful WordPress Plugins and WordPress.com
will not support any of them. Moving to a self-hosted WordPress blog doesn’t
appear to be very difficult. The biggest trick will be picking the right web hosting
company that is strong WordPress supporter who will make it easily move my blog from WordPress.com to WordPress.org.
I then took a closer look at how others have successfully using IPython Notebook for blogging. I took a very close look at Carl Boettiger’s Online Lab Notebook. This introduced me to GitHub Pages and Jekyll. With these tools you can create an archived, static site that is hosted for free. I saw the synergy between these tools and how I work with my Linux box, electronics, and now IPython and its seemed like the way to go.
Jekyll is a simple, blog aware, static site generator. It takes a template directory (representing the raw form of a website), runs it through Textile or Markdown and Liquid converters, and spits out a complete, static website suitable for serving with Apache or your favorite web server. The site “Learning Jekyll By Example: Build a Jekyll Website, Start to Finish” says it well:
- Jekyll can be hosted on any web hosting service that serves static files.
- Jekyll-powered websites are also extremely secure.
- Jekyll is mainly targeted at tech-savvy bloggers.
- But what Jekyll lacks in newbie-friendliness it makes up for in power and flexibility.
- Jekyll allows you, the content author, to display your work as you see fit, without the typical restrictions imposed by other blogging platforms.
Installing Jekyll
Following the instructions on the Jekyll and Ubuntu web sites, I used the following to install the required software and get a skeleton established for my blog.
sudo apt-get install ruby1.9.1-dev
sudo apt-get install rdiscount
sudo gem install jekyll
sudo apt-get install rake
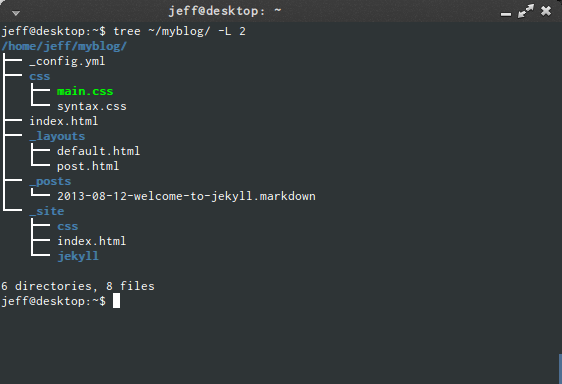
jekyll new myblog
What is produced looks like this:

To see how this will be rendered on within a browser, execute jekyll serve --watch within ~/myblog
and then set your browse to http://localhost:4000.
Moving Blog from WordPress.com
Next, I want to import my old website to myblog and convert it to Jekyll.
First I need to export my site, and I can do this by going to
https://jeffskinnerbox.wordpress.com/wp-admin/export.php and, executing the commands there,
place the HTML file created in a temporary place. Then install these tools:
sudo gem install jekyll-import --pre
sudo gem install hpricot
To do the actual conversion and down loading of the site, you use the command:
jekyll import wordpressdotcom --source ~/tmp/jeff039sskinnerbox.wordpress.2013-08-14.xml
Creating Your Local Git Repository
cd ~/myblog
git init
git add .
git commit -m 'Initial commit'
Creating the GitHub Page (Remote Repository)
Github Pages provides a simple service for serving up static HTML from a GitHub repository. It’s the perfect place for project documentation, when combined with Jekyll it can support a blog. The post Getting started with GitHub Pages provide a good overview. The steps to get the web site up and running go like this:
- On my GitHub site, I created a new Repository call jeffskinnerbox.github.com
- From the PC, load the web site to the GitHub Repository:
git remote add origin http://github.com/jeffskinnerbox/jeffskinnerbox.github.com
git push -u origin master
- Verify that your web page is available by going to
http://jeffskinnerbox.github.com. This could take up to 10 minutes for GitHub the first time.
Using a Custom Domain Name
GitHub Pages allows you to direct a domain name of your choice at your GitHub Page.
My custom domain name is www.jeffskinnerbox.me. To do the setup, I found the postings
Setting up a custom domain with Pages and
Setting the DNS for GitHub Pages on Namecheap helpful. It goes like this:
- Telling the GitHub server to serve from the custom domain by creating a file named
CNAMEin the root of your site and put string with the domain (i.e. jeffskinnerbox.me) into the file. - Go to your Domain Name Registrar and make the changes outline in the posts reference above. It may take as long as 24 hours for these changes to take effect.
Closing
All in all, I am very pleased with Jekyll so far. It did take a little longer than I’d have thought to migrate this blog as it is from WordPress, while also preserving the site’s characteristics, but it didn’t take too long and I love the results. I doubt I would ever want to look back!
